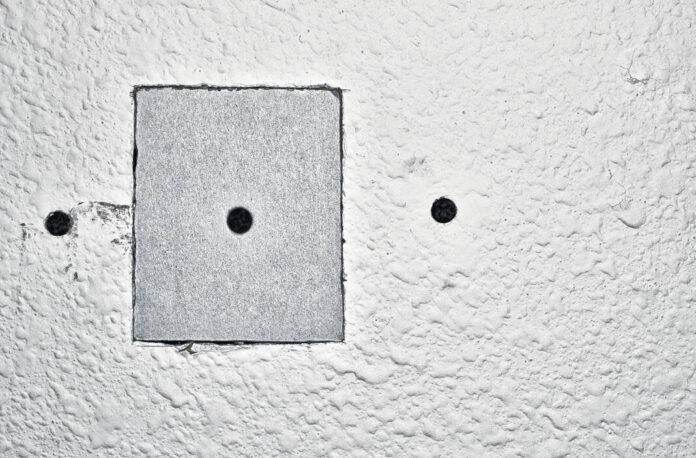
From scuffs to scrapes to gaping holes, drywall damage happens. It’s an unfortunately unavoidable part of homeownership. But drywall repair doesn’t have to be daunting. Here’s how to easily fix your damaged drywall, according to the experts.
Assess the situation
The first step of drywall repair, according to HGTV, is to assess the damage. If the drywall damage is limited to a few small nail holes, the damage can likely be remedied with some spackle (also called mud), a putty knife and a sanding block. If the damage is more sizable, then the repair process is going to be a little more complex.
For larger holes, the repair will require mesh tape to strengthen the spackle’s bond to the wall. This strategy can be applied for long cracks and coin-sized holes.
Patching drywall
If the damage is larger than a coin-sized hole, the repair may require a patch of drywall as well. For these more complex repairs, the first step is to assess what kind of drywall your home has. Drywall comes in different levels of thickness, generally 3/8, 1/2 or 5/8-inch. Cut out a healthy piece of drywall from the damaged spot to assess what size drywall you will need to purchase for your repairs.
Once you have identified the size of your drywall, the next step is to find your studs. Use a stud finder to locate the nearest studs to the drywall damage and mark their locations with a pencil. When you are done, your pencil markings should frame the drywall damage.
“Use a drywall saw to cut along the lines you just drew until you reach the wall studs,” Home Depot advised. “When you reach a stud, measure and mark 3/4 of an inch farther in, which will be the center of the stud. Score these lines with a utility knife. The edge of the patch should be directly over the stud so both the existing drywall and patch have support. Continue cutting along the lines carefully with the utility knife, making several passes with each cut slightly deeper than the previous cut. Remove the damaged piece of drywall.”
Once the damaged drywall has been removed, it’s time to install the support. Cut a 1-by-3-inch piece of lumber and screw it with drywall screws vertically behind the wall opening you created. Make sure the screw heads sink a little below the surface of the drywall.
Use your damaged piece of drywall to trace and ultimately cut out a great fitting replacement piece from the healthy drywall you purchased previously. Once the newly cut piece of drywall has been placed inside the open patch area of the wall, secure it to the wall with drywall screws — but ensure the screws are at least an inch from the edges of the new piece of drywall to avoid cracking.
Sealing the patch
Once the new piece of drywall has been secured in place, run strips of fiberglass drywall mesh tape around the edges of the patch. Spread spackle across the patch and tape until you have created a smooth, flat surface. Let the compound dry for as long as required by the manufacturer. This process must then be repeated with a second coat of spackle.
Once dried, wipe the patched area with a tack cloth and sanding cloth before painting over the repair.


